01
Brightness
More output can help on unlit paths, but controlled brightness matters too. A useful light should give you enough reach without creating unnecessary glare for other riders or traffic.
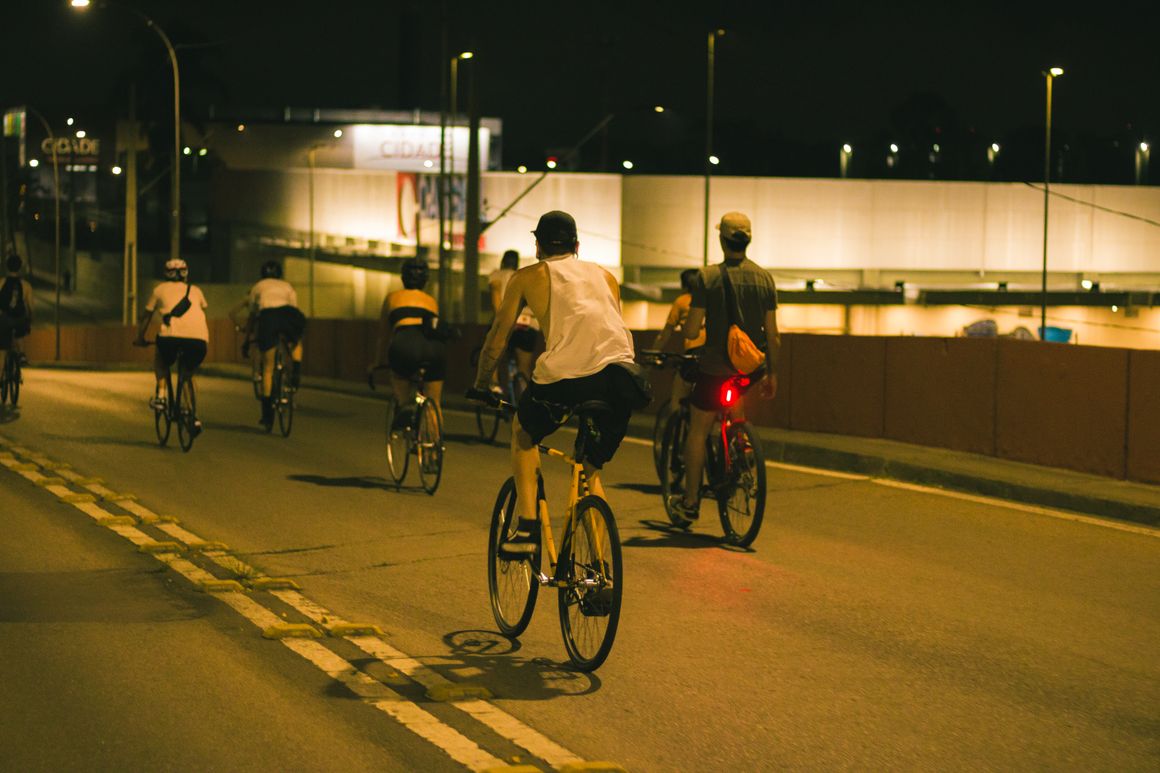
Urban visibility
Trail illumination
Daytime attention
02
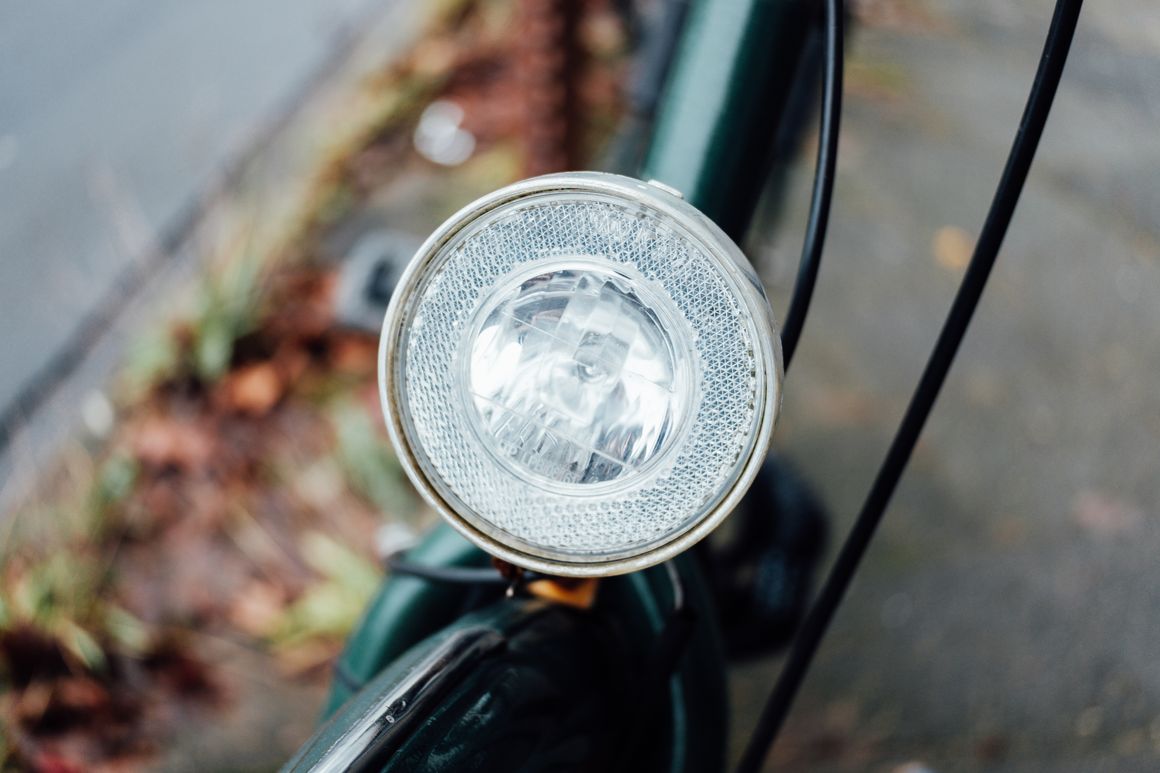
Beam Shape
A narrow beam reaches farther, while a wider beam helps with corners, curbs, gravel edges, and road texture. For daily riding, balanced spread is often more useful than raw intensity.
Spot beam
Flood beam
Cutoff beam
03
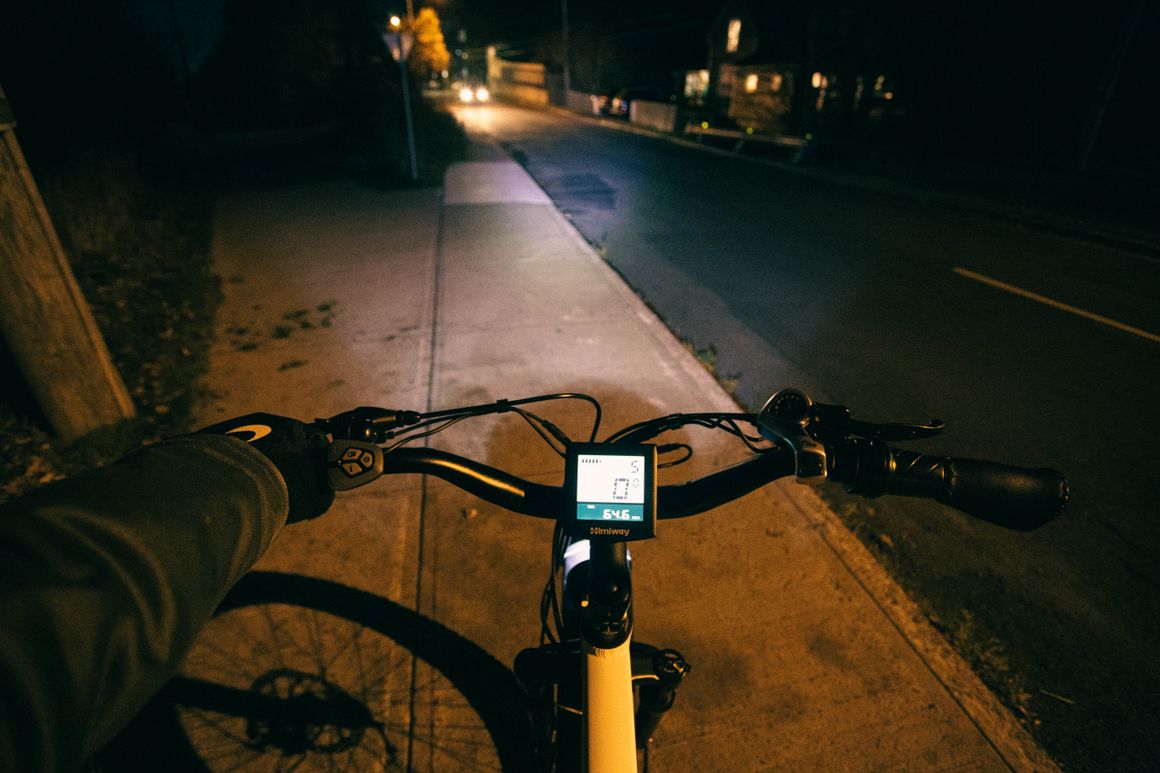
Run Time
Battery life should match your longest realistic ride, plus extra time for detours, cold weather, traffic delays, and forgotten charging. Choose the mode you will actually use most often.
Commute mode
Reserve mode
USB charging
04
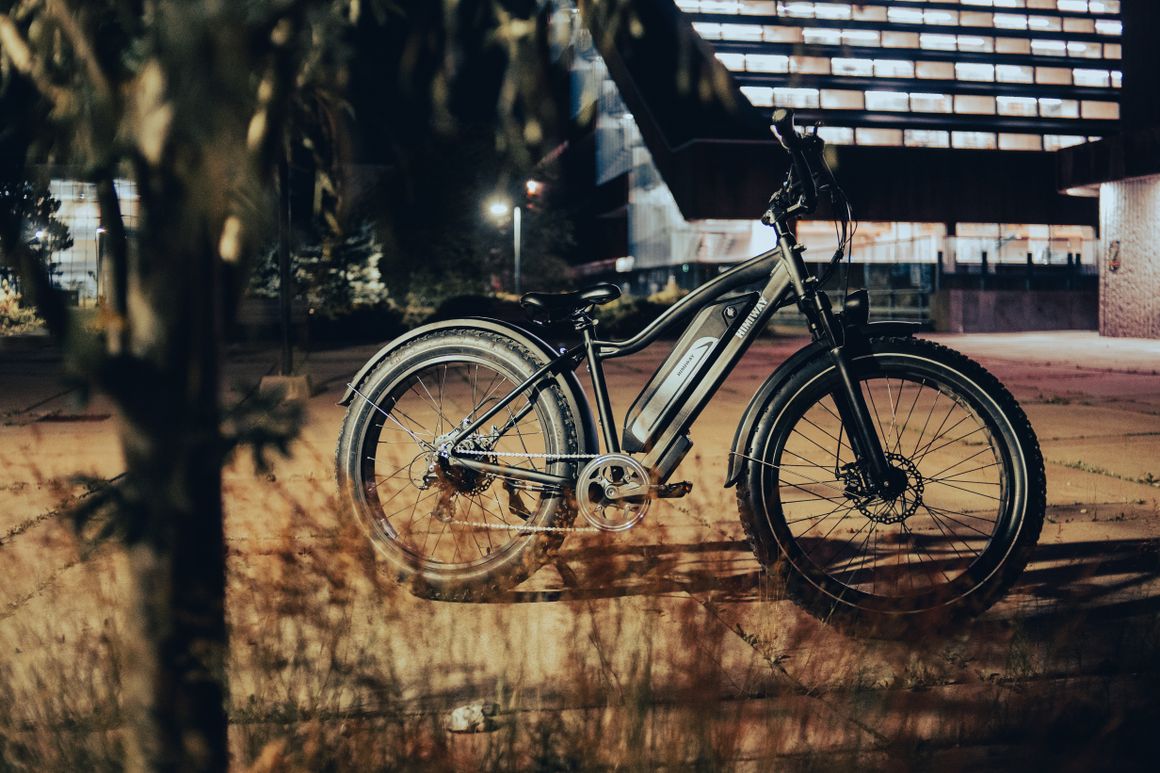
Mount Security
A bright light is only helpful when it stays pointed correctly. Look for mounts that hold angle, resist vibration, and remove cleanly when you park outside or carry your bike indoors.
Bar mount
Seatpost mount
Helmet option
05
Weather Ready
Rain, road spray, dust, and seasonal grime can affect charging ports, buttons, lenses, and brackets. A practical light setup should be easy to wipe down and reliable after wet rides.
Sealed housing
Protected port
Easy cleaning
06
Signal Style
Steady beams help you see consistently. Pulse and flash modes can help you stand out during the day or in traffic. Use settings thoughtfully and avoid distracting other road users.
Steady mode
Pulse mode
Low battery cue